PhysComp » Week 2: Spaldeen Switch
Full disclosure: this assignment may have been a bit of a cheat (?) in that it makes use of a switch cannibalized from a project I made during ITP Camp 2018.
The switch I used for this week’s assignment is constructed from conductive fabric and a classic pink Spalding stickball (aka a ‘Spaldeen’).
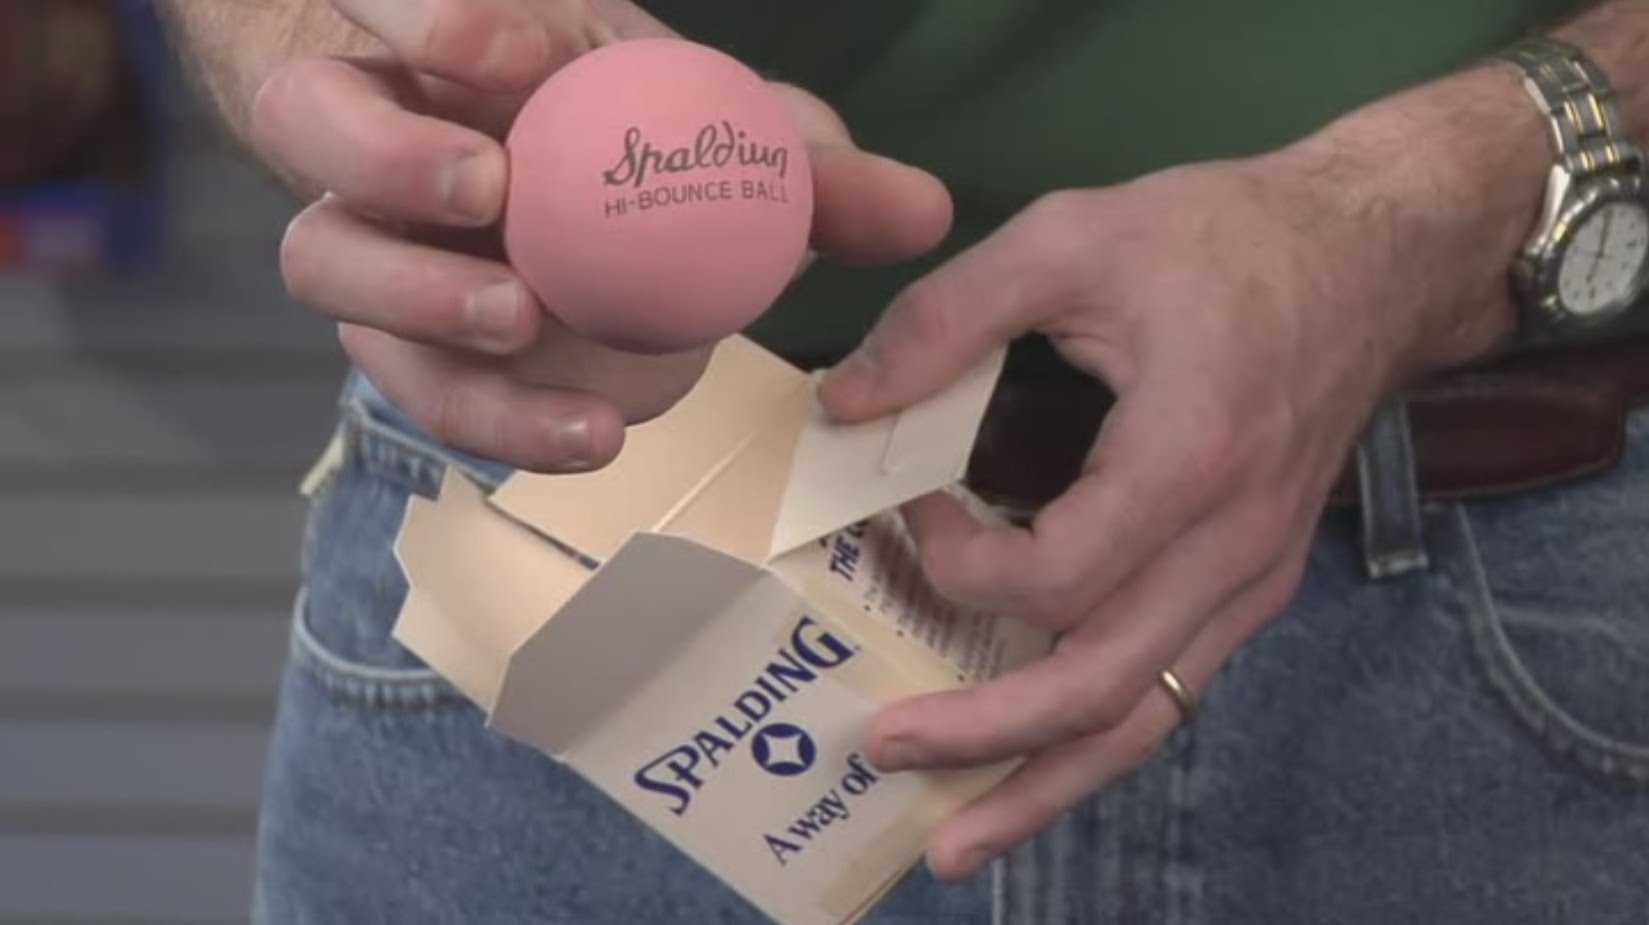
I cut the ball in half and glued two pieces of non-contiguous conductive fabric to the Spaldeen’s surface using Barge contact cement. Barge is a close cousin to rubber cement and a staple of shoe repair. It provides a sturdy bond and maintains it’s flexibility after it dries.
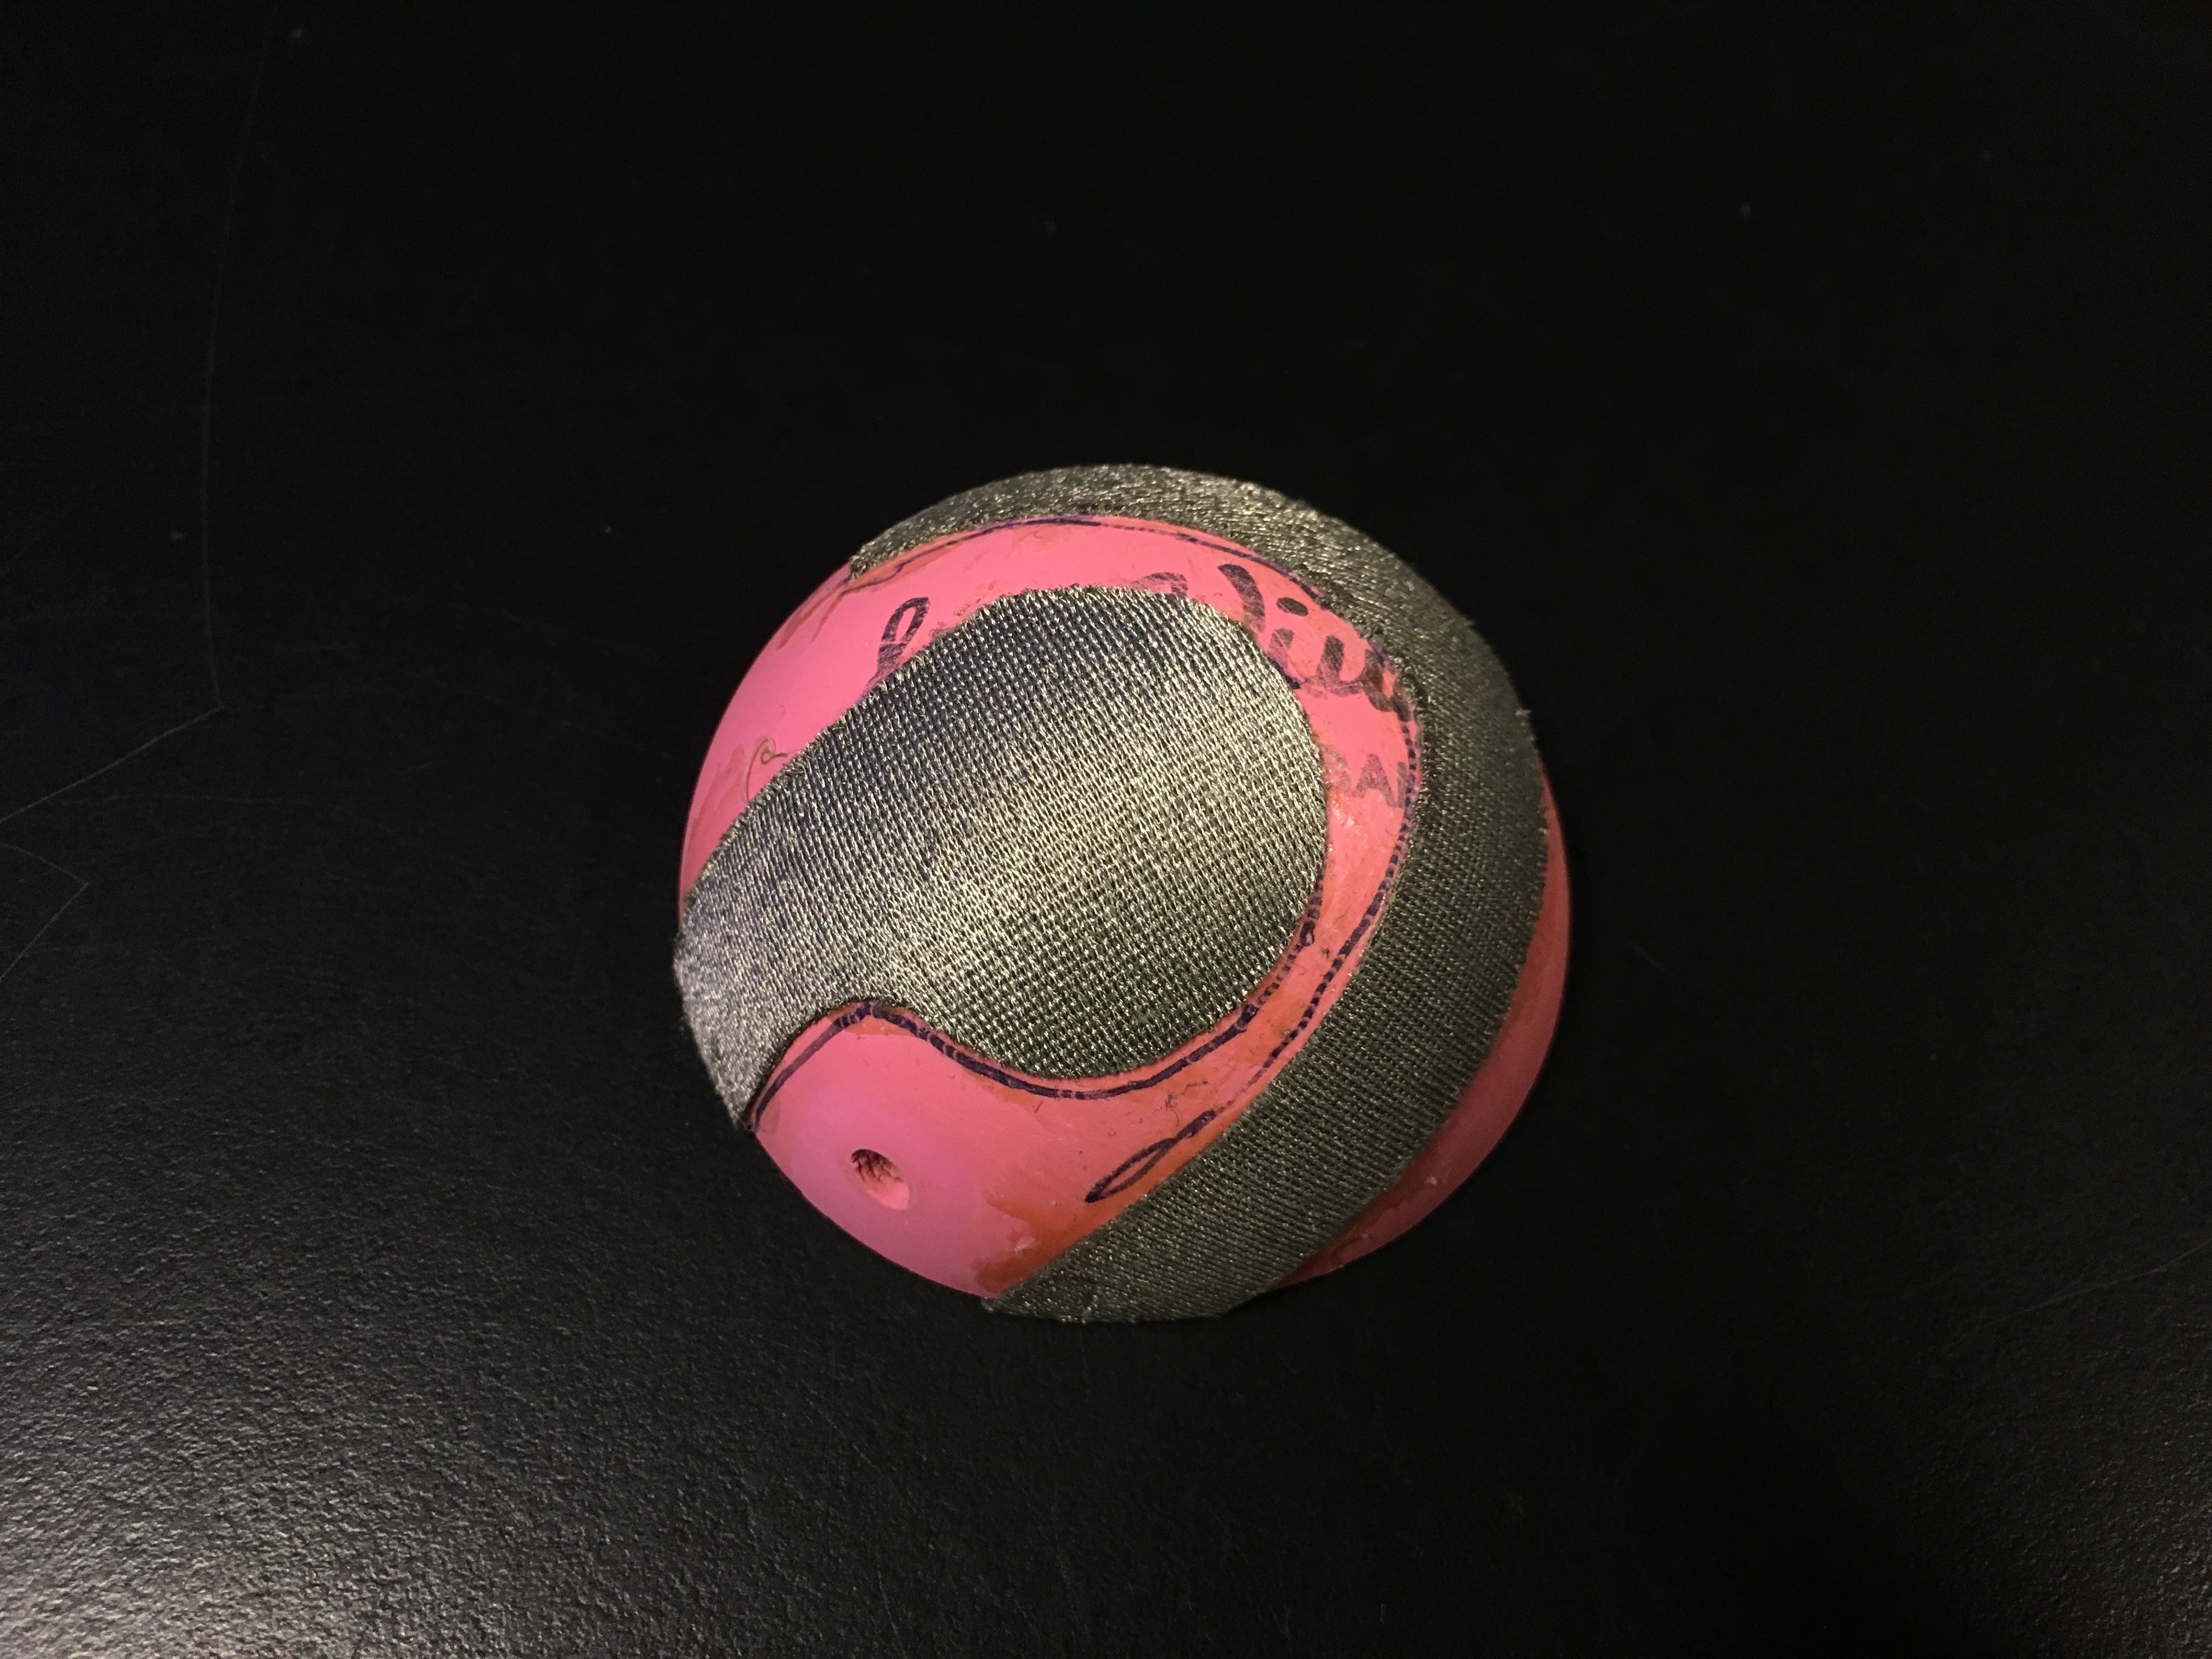
Once the cement dried I inversed the hemisphere so the two pieces of conductive fabric oppose one another and voila: a momentary pushbutton (or squooshbutton) switch!

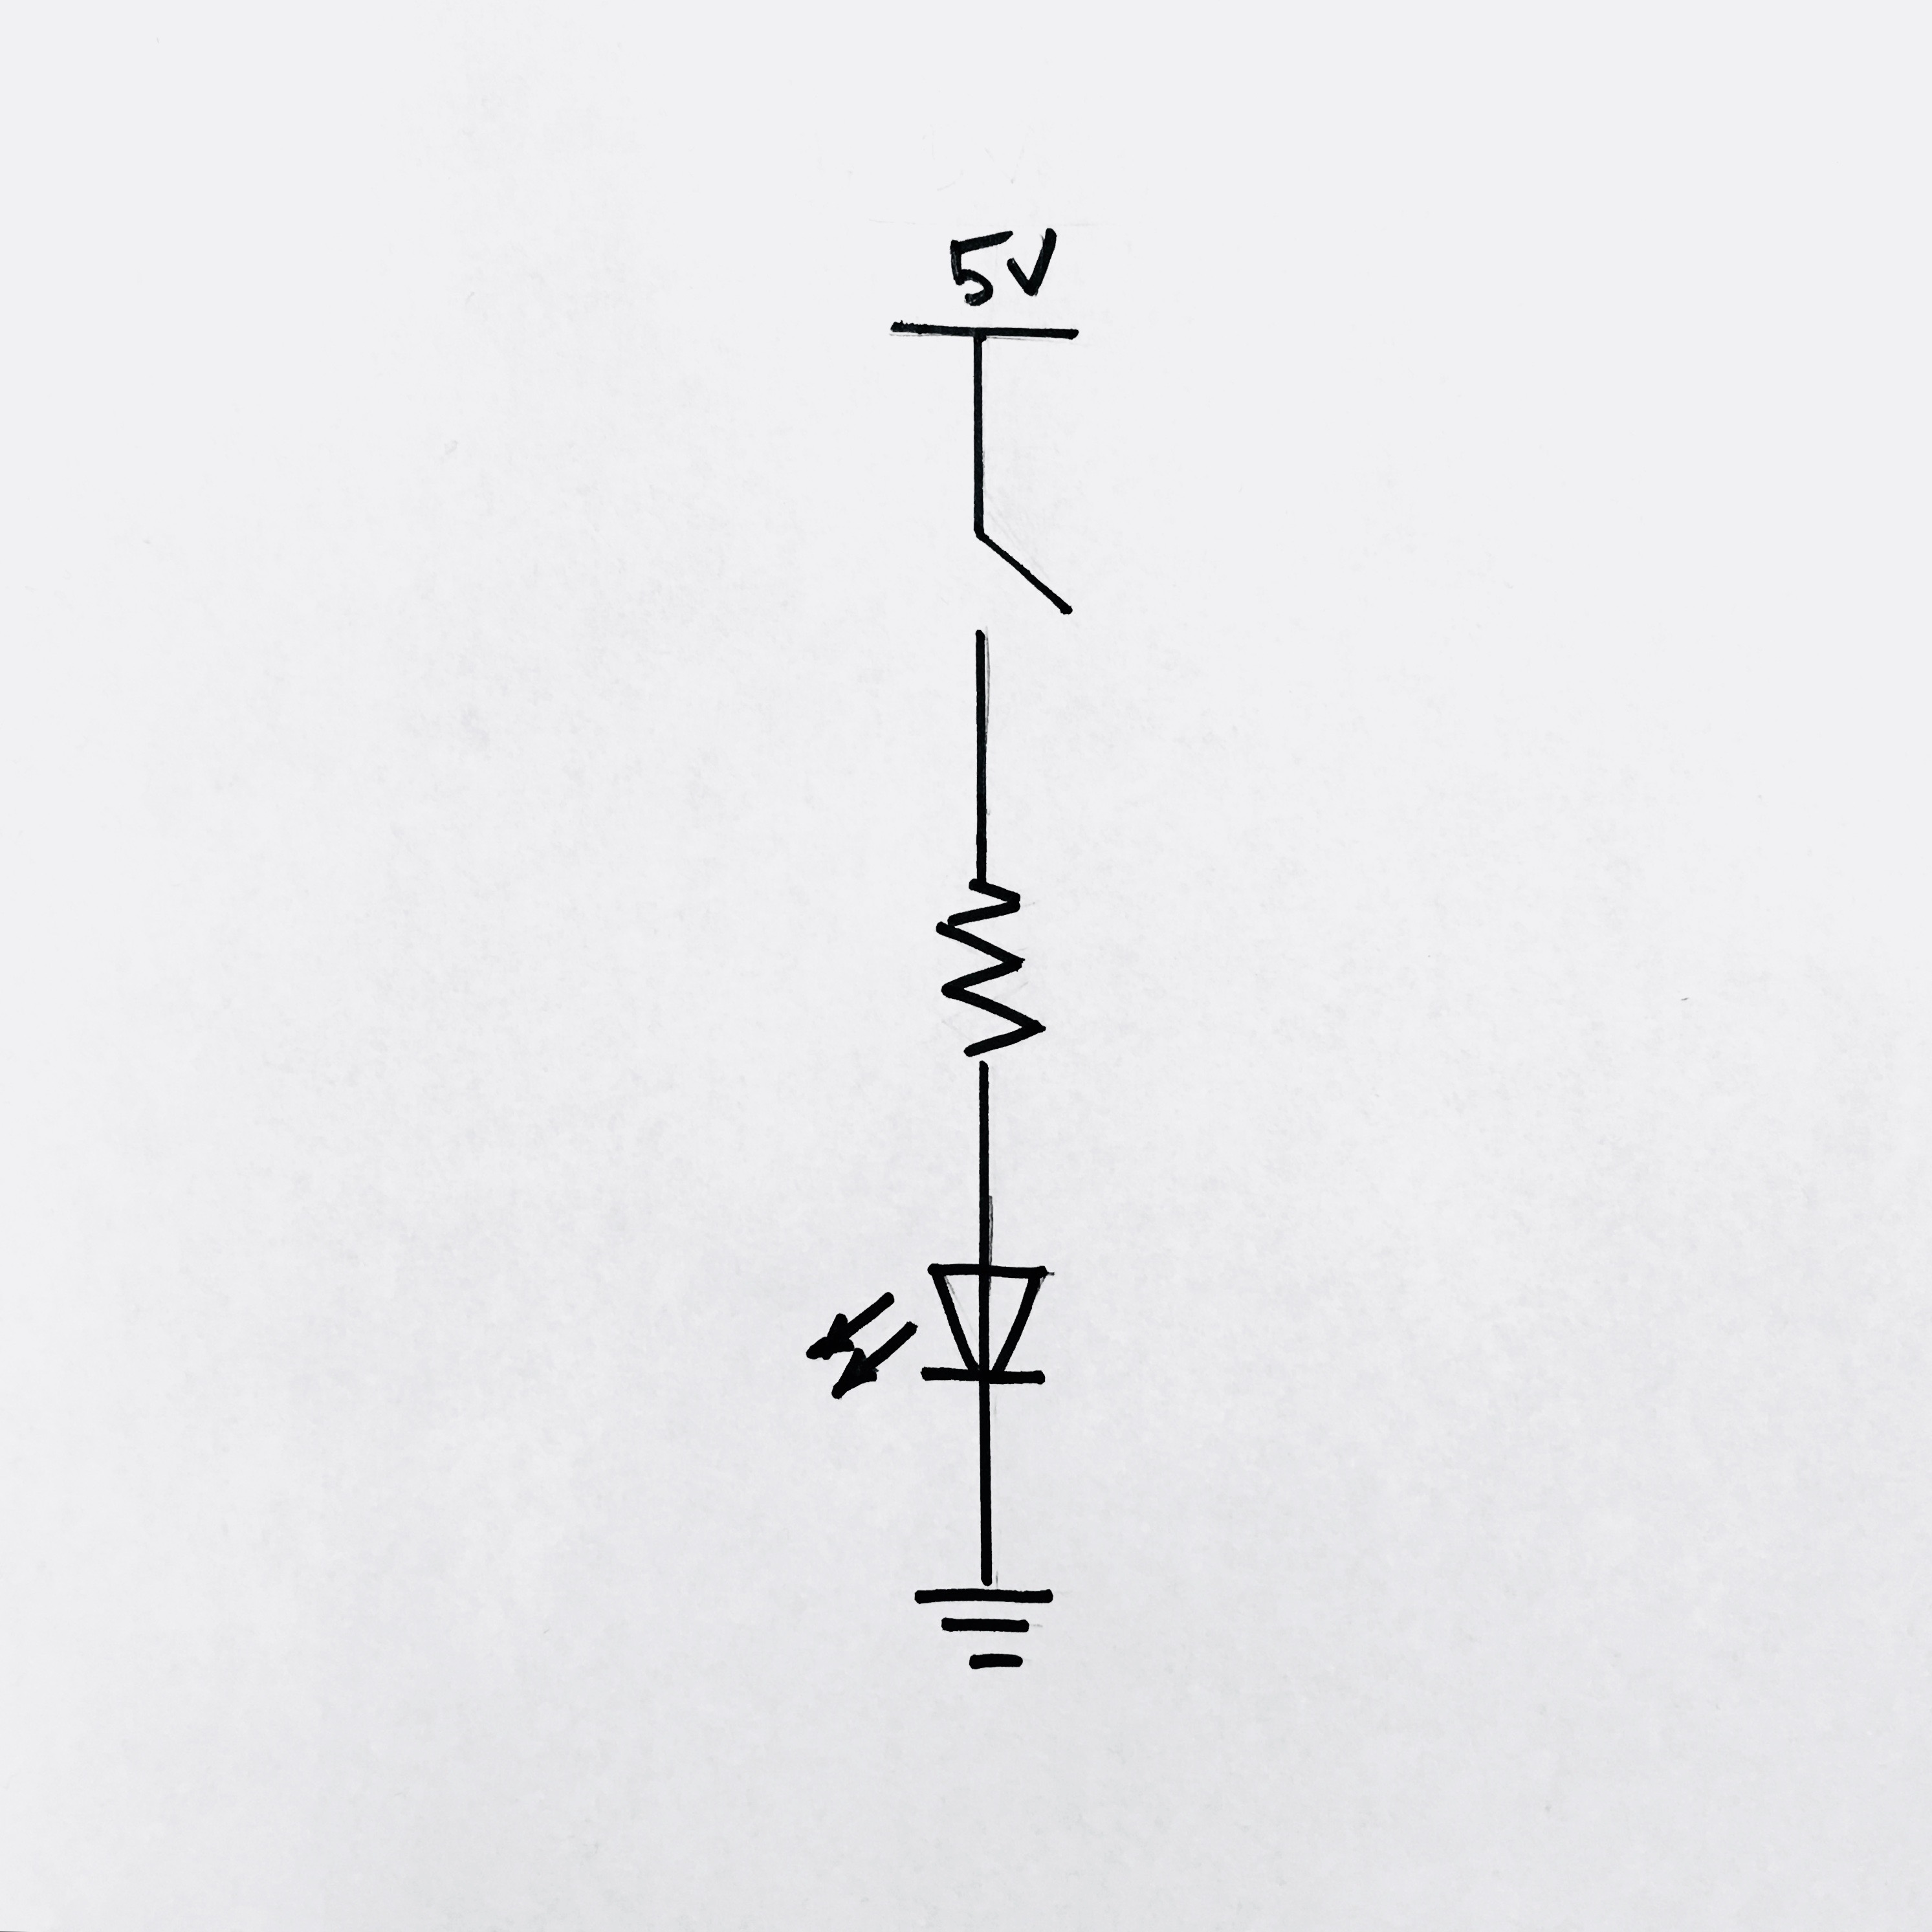
The circuit is a classic green LED preceded by a 220 Ohm resistor drawing 5 volts from an Arduino Uno.
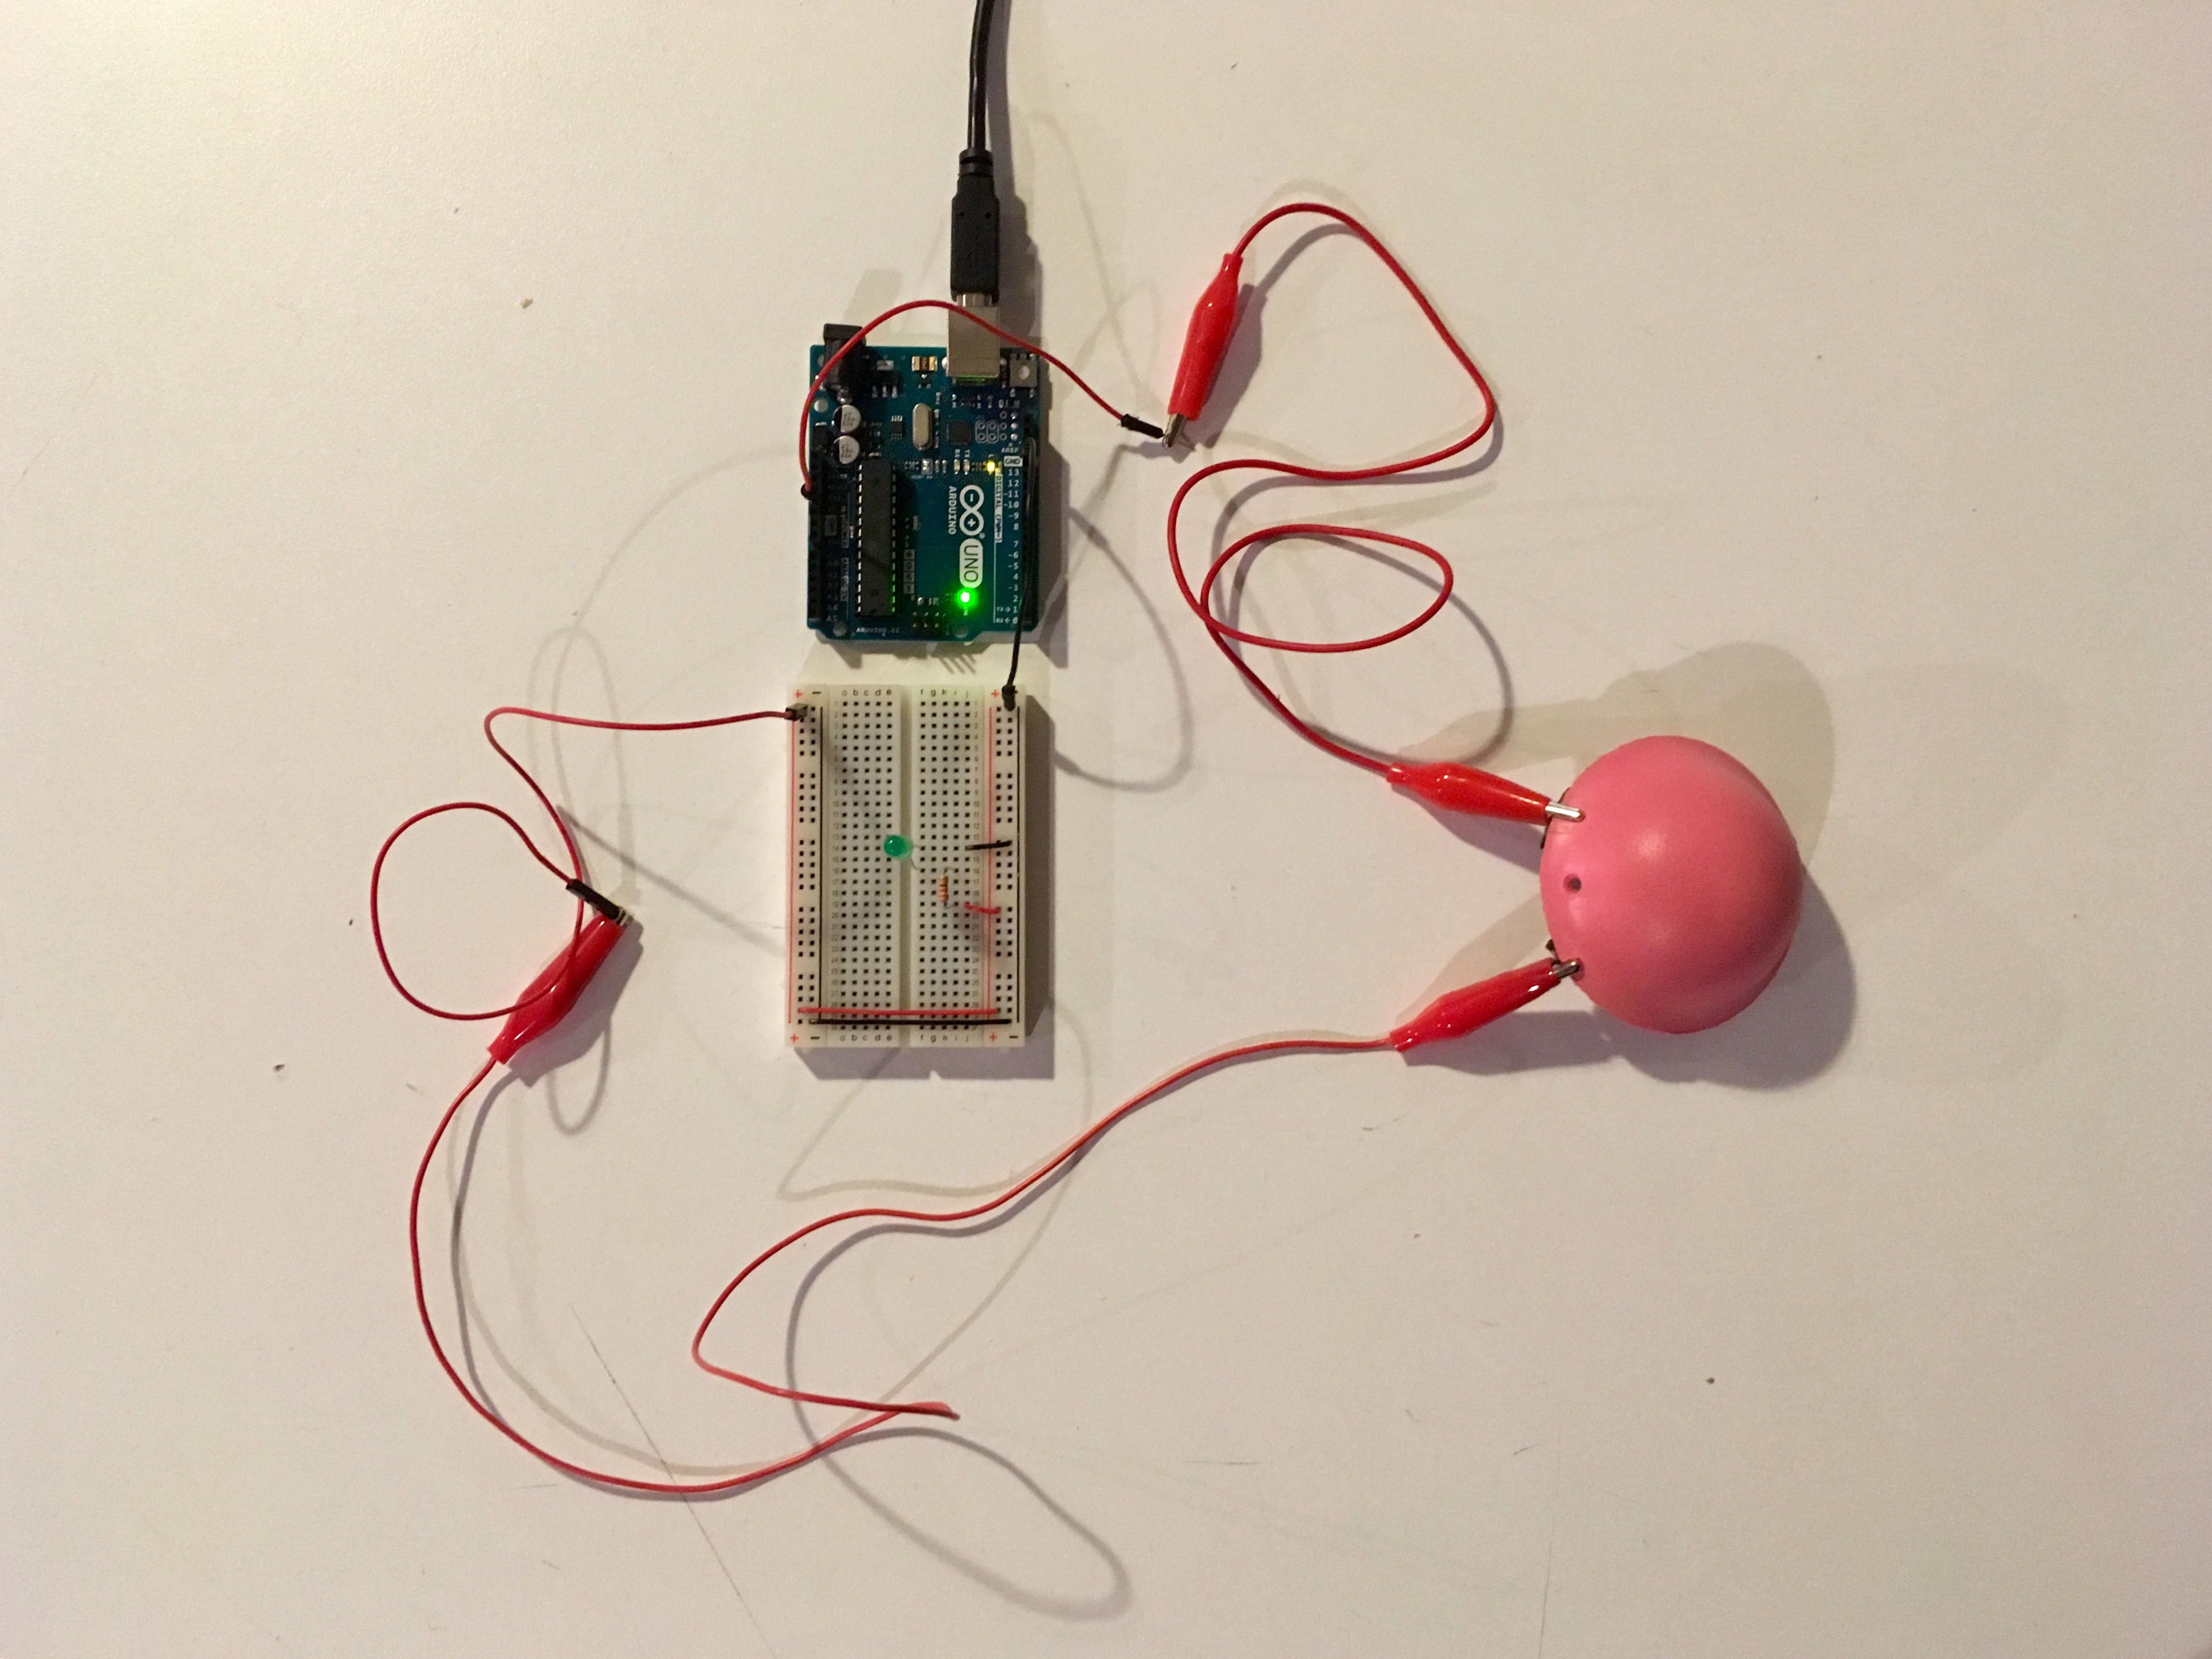
When the opposing sides of the Spaldeen ‘squooshbutton’ are squeezed together, the two pieces of conductive fabric make contact, the circuit completes, and the LED illuminates.

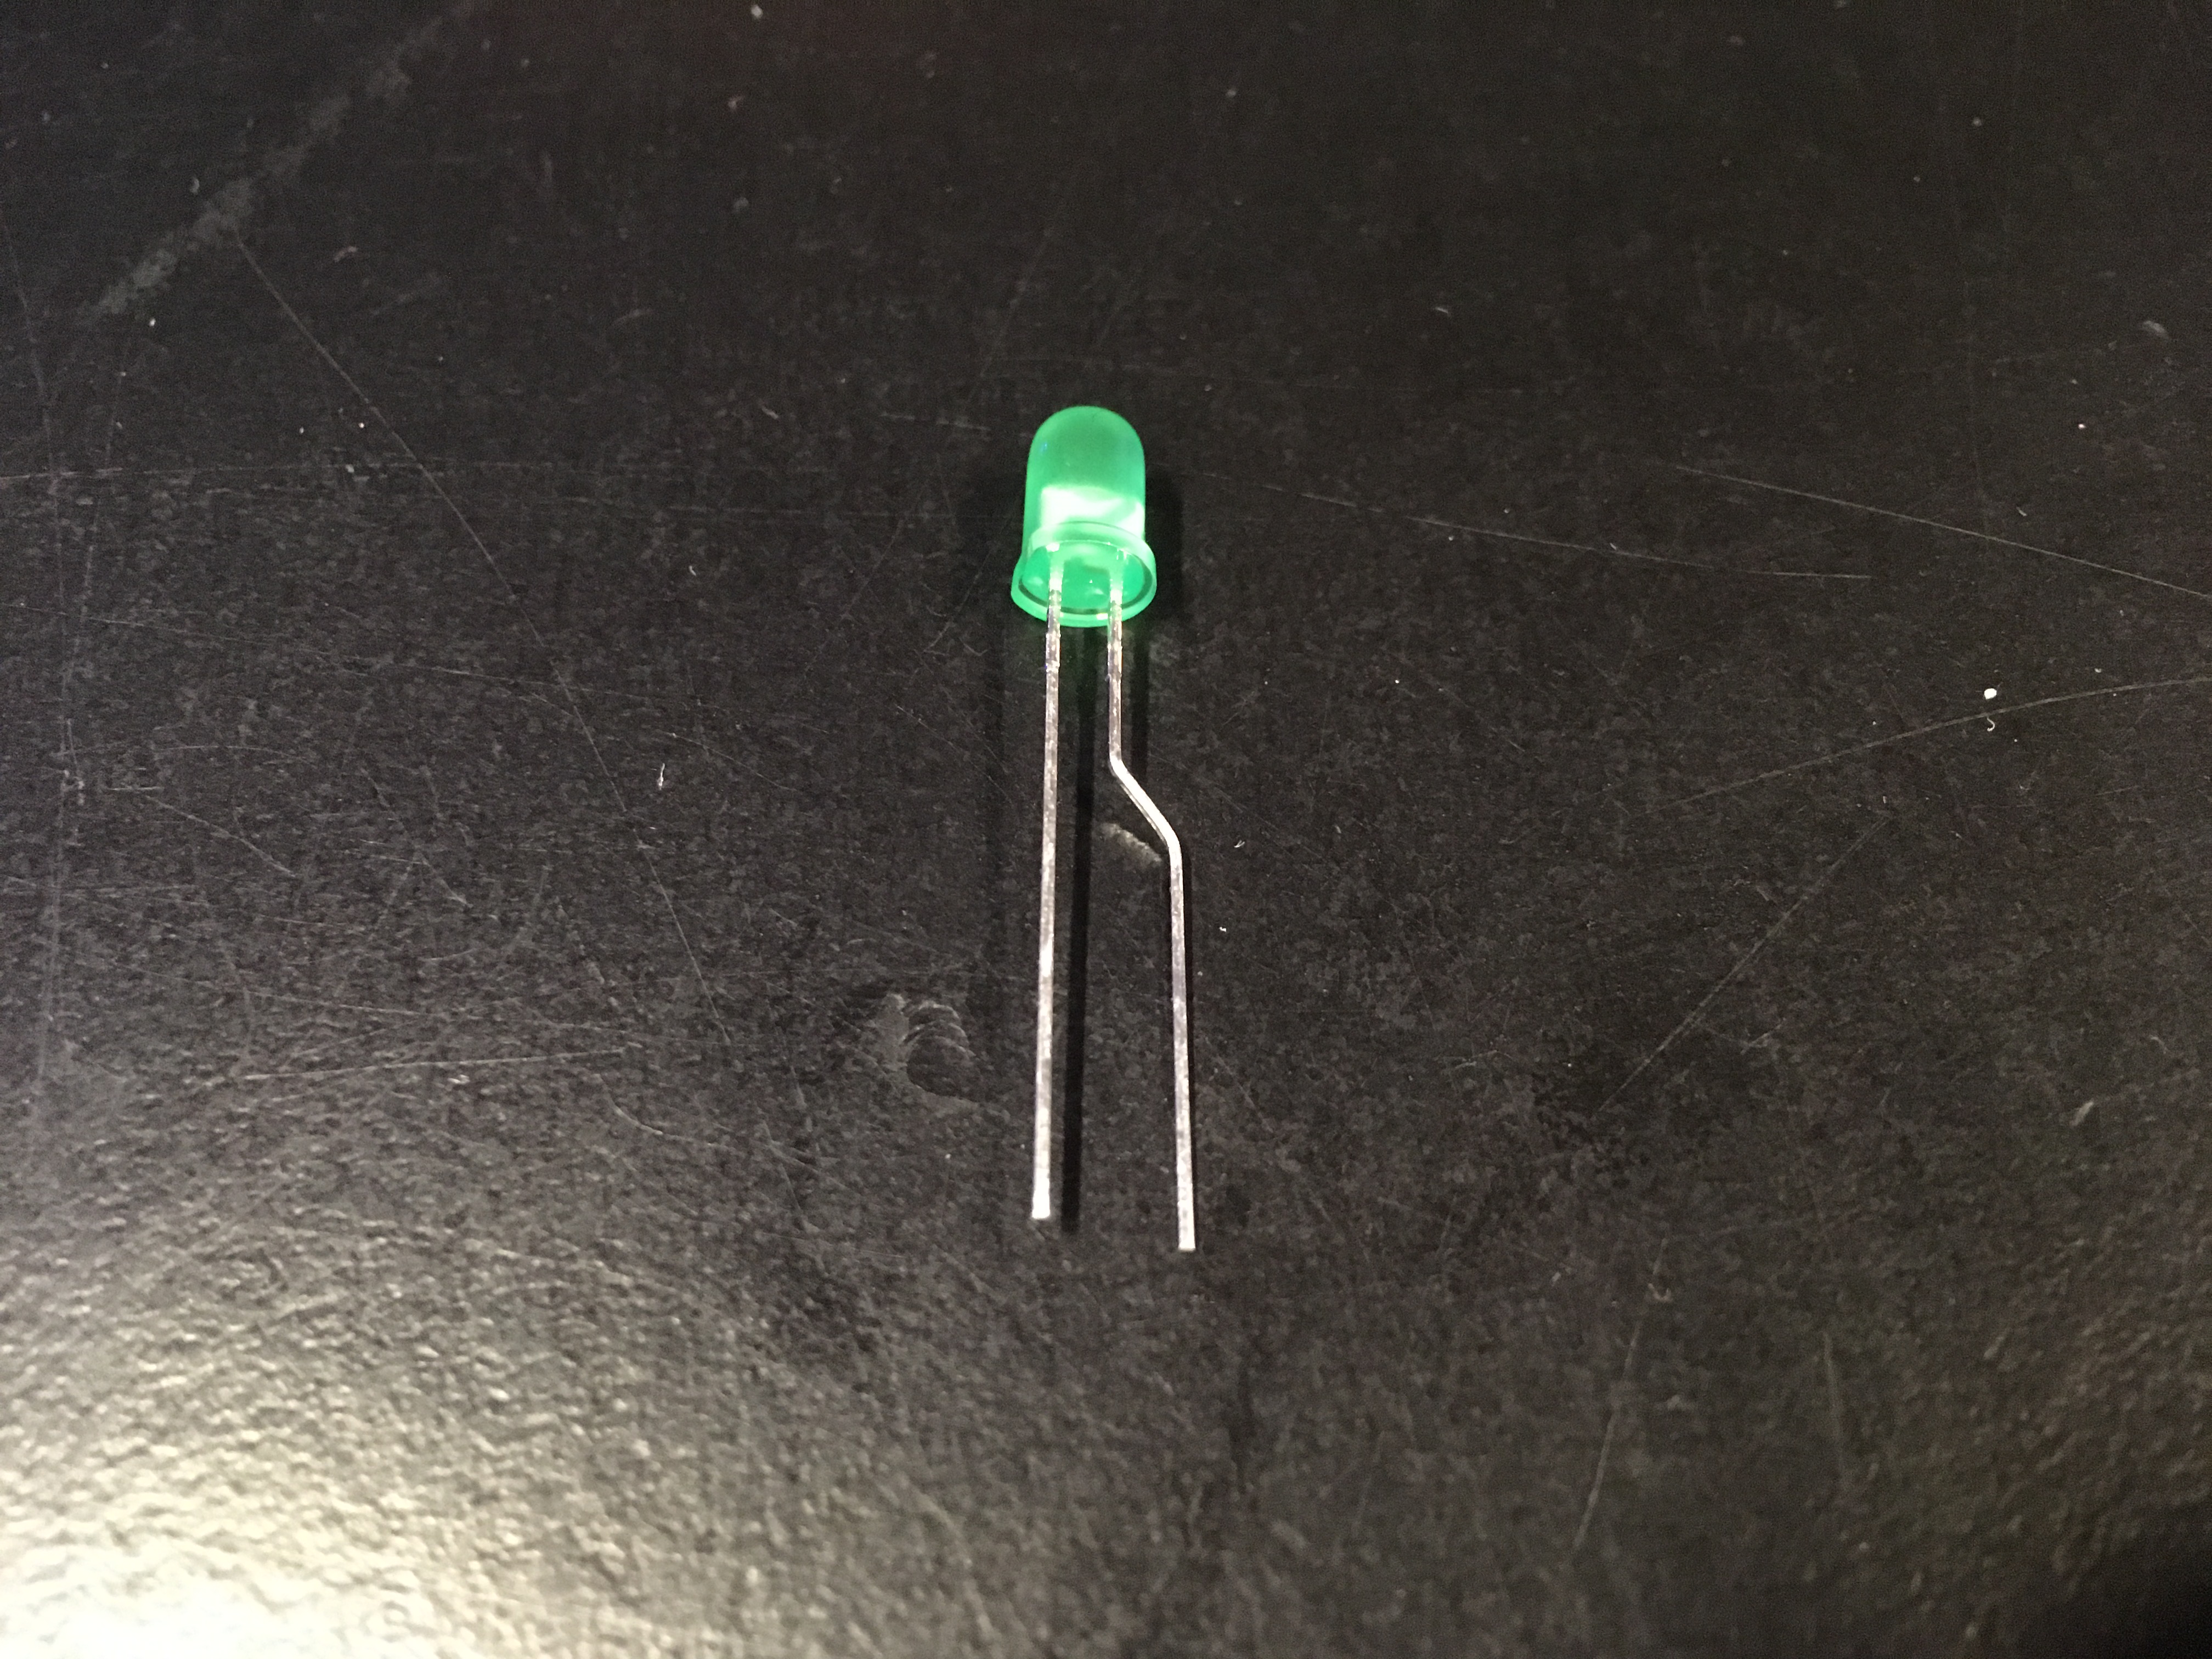
Note: I’ve found it helpful to put a ‘dog leg’ (a.k.a an offset bend) in the anode leg of an LED. Doing so helps 1.) easily identify the anode and 2.) both legs of the LED bottom out evenly in a breadboard.
And finally, a schematic of the circuit in question: